If you are looking for engaging, simple & playful activities to do with your kids or students this Valentine's Day, look no further! Scroll to the bottom for a FREE 20 Reasons Why I Love You Printable!

Head to our Instagram page to see more ways to learn & play at home or in the classroom! We love to see you play & share the joy of hands-on crafts & activities at home. Be sure to tag @aplayfilledlife on Instagram or Facebook if you try any of our ideas!!
XO Gina

Materials:
Paper or plastic cup
Large craft stick
Candy Conversation hearts
How-To:
Provide the child with a handful of candy hearts, one cup & one craft stick.
Challenge them with putting the hearts on one at a time, balancing as they go. See how high they can make it before it tips over.
This is a great activity to work on problem solving, creating & revising strategies & dealing with frustration.
Extend your STEM play by making predictions before you begin, "How many hearts do you think you can stack before it falls?" Try stacking with only one hand or only using a certain amount of candy hearts!
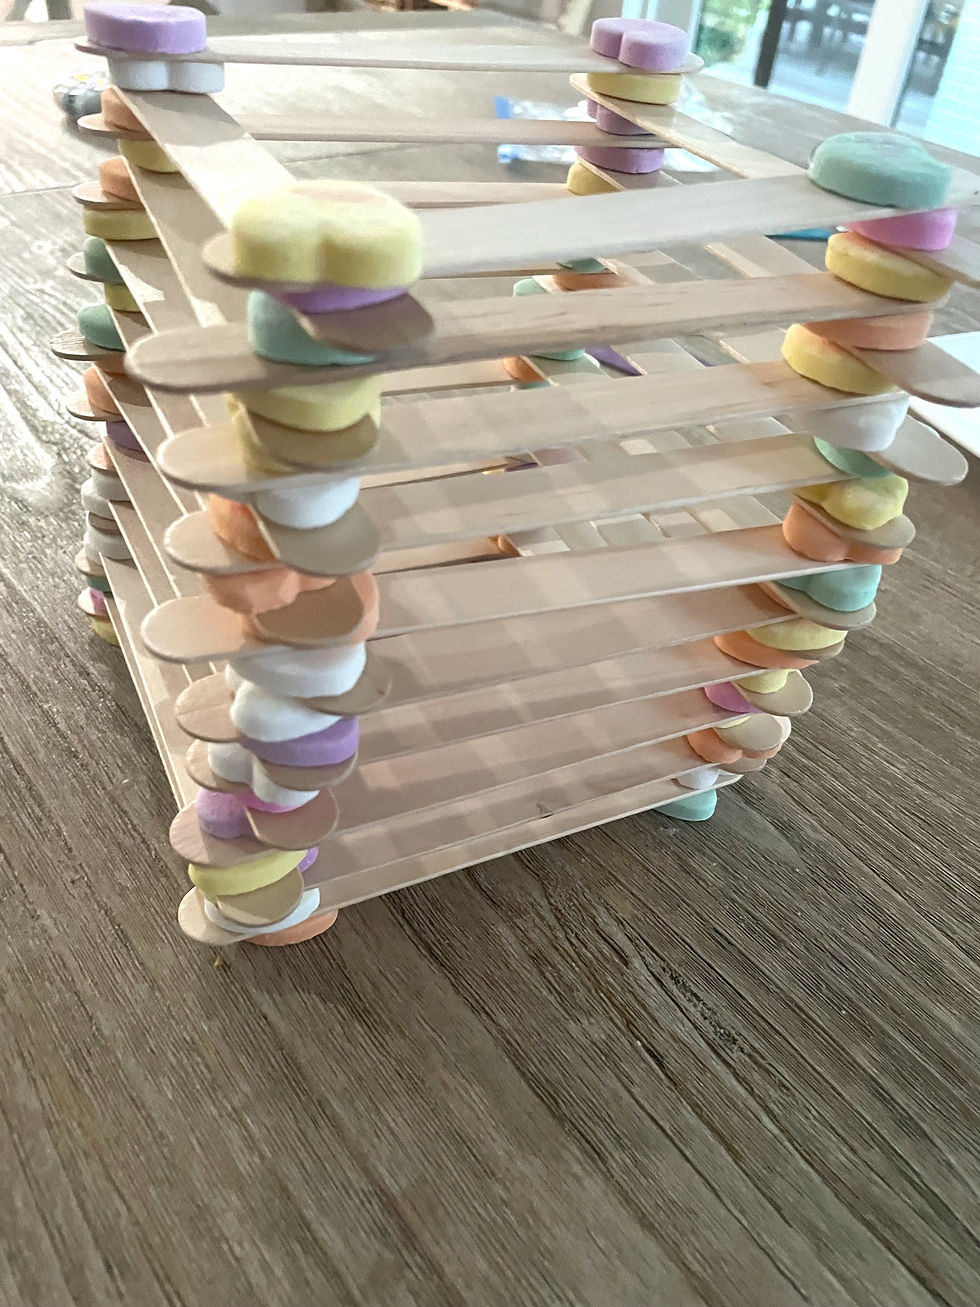
Materials:
Candy Conversation Hearts
Large craft sticks
How-To:
Provide the child with a handful of candy hearts & a pack of large craft sticks.
Challenge them with building the tallest tower that they can with those two materials.
There are several ways to build a tower & I always encourage a child to problem solve, brainstorm alternative ideas & never give up!
Extend your learning & play by identifying the color hearts you are using, counting how many you use & discussing words like "engineer, strategy, balance etc. You could also write letters, numbers, or sight words on the craft sticks so you can read as you build!
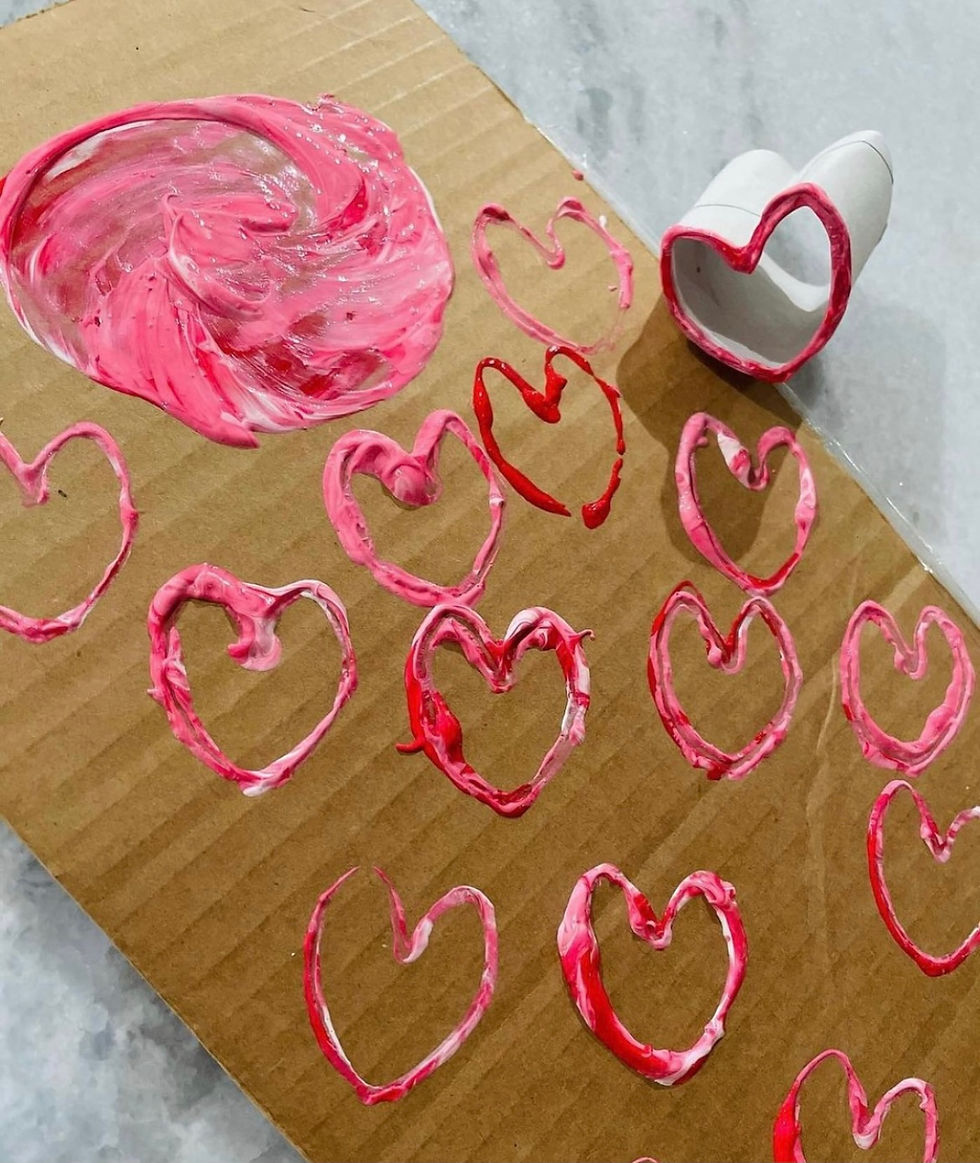
Materials:
Paper towel roll
Paint
Craft paper
How-To:
Cut a paper towel roll in half. Crease the bottom so it makes the point of the heart. Push the top down in the middle and crease, so that it creates the rounded part of the heart.
Squirt a little bit of paint out onto a plate or tray. Dip your paper towel heart into the paint, then stamp away!
Extend your learning by practicing making patterns, by counting how many hearts you make and/or by mixing colors together to see what they make!

Materials:
Pony beads
Pipe cleaners
How-To:
Take 1 pipe cleaner & form it into a heart.
Take a second pipe cleaner & wrap it around the bottom center of the heart, creating a wand.
Add beads on the wand. Wrap the end around the last bead to keep it from falling off.
Once completed, use it to play, create or imagine!
Extend your play by dipping the wands into bubbles & blowing them! Allow them to dry after use.
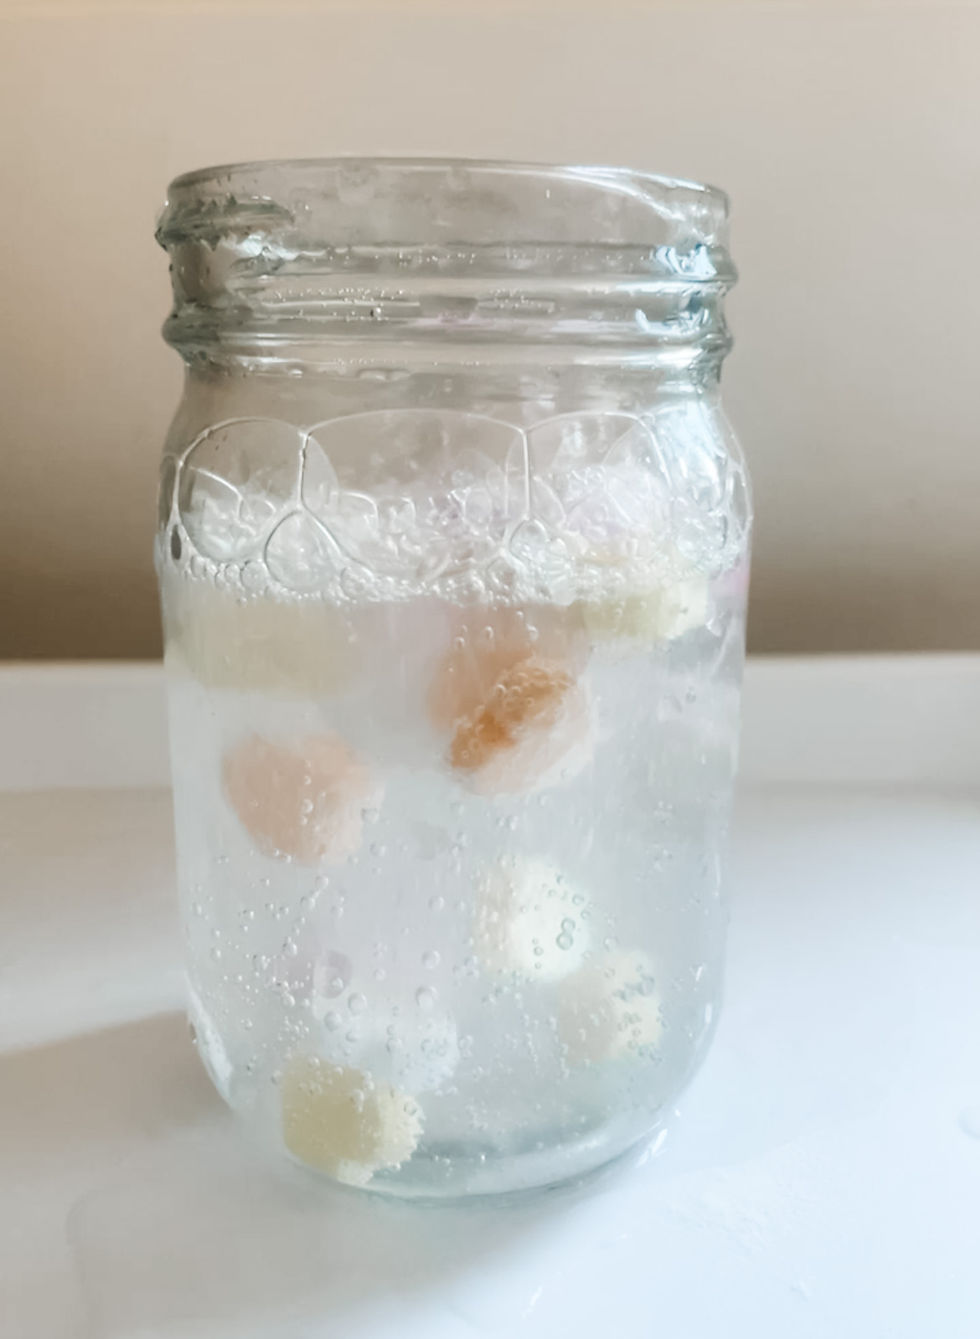
Materials:
Glass jar
2 tablespoons of Baking soda
1 cup of White vinegar
Candy conversation hearts
How-To:
Fill the jar halfway with water. Add 2 tablespoons of baking soda & mix well.
Drop a handful of candy hearts into the jar.
Slowly pour the vinegar into the jar. You want to do this slowly so that it doesn't erupt over the top of the jar. If you have a smaller jar, you may not need the full cup of vinegar.
Watch as the mixture starts to have a reaction and the hearts begin to jump & dance around!
Extend your play by making predictions: "What do you think will happen when we pour the vinegar in? What color heart do you think will dance the most?"
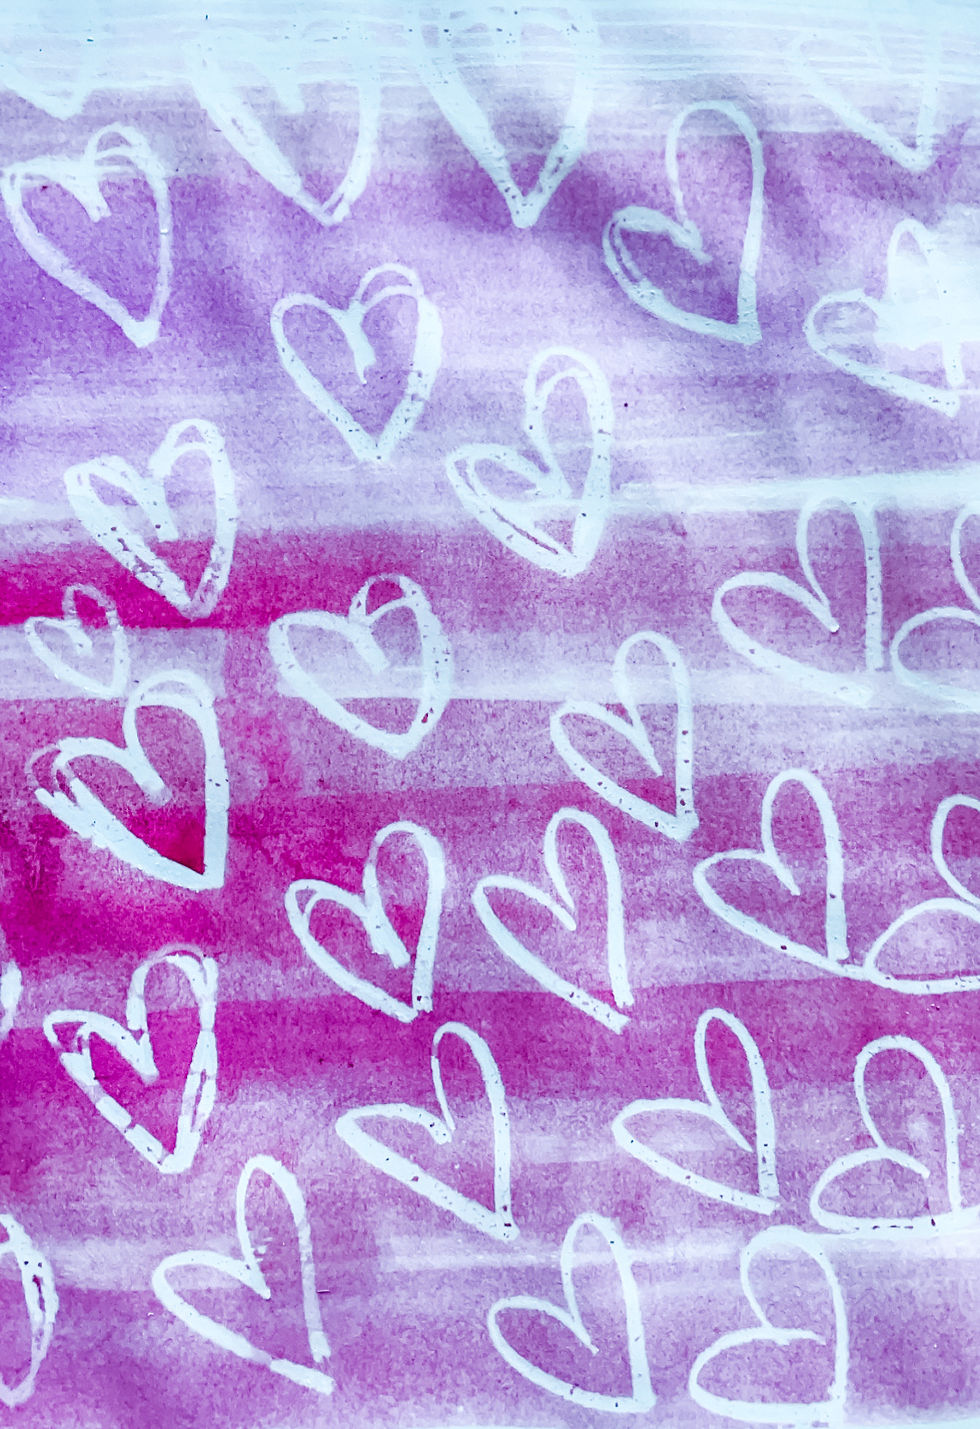
Materials:
White crayon
White paper
Watercolor paints
Paintbrush
How-To:
Use the white crayon to draw hearts or secret "I Love You" messages on the white paper. Be sure to press down hard with the crayon.
Give the child the watercolor paints & have them paint over the white paper, revealing the pictures underneath!
Extend your play by trying this with letters, numbers, shapes or sight words!
Dyed Chickpea Sensory Bin

Materials:
Chickpeas
Acrylic paint
Parchment paper
Tray
How-To:
Pour the chickpeas into a Ziploc bag or bowl with a lid. Add 5-6 squirts of paint for every cup of chickpeas. Seal & shake well until all fully incorporated.
Spread the chickpeas on a parchment paper-lined cookie sheet or tray & let dry for a few hours.
Add some scoops & Play!
Extend your play by hiding letters inside the tray & going on an alphabet hunt!
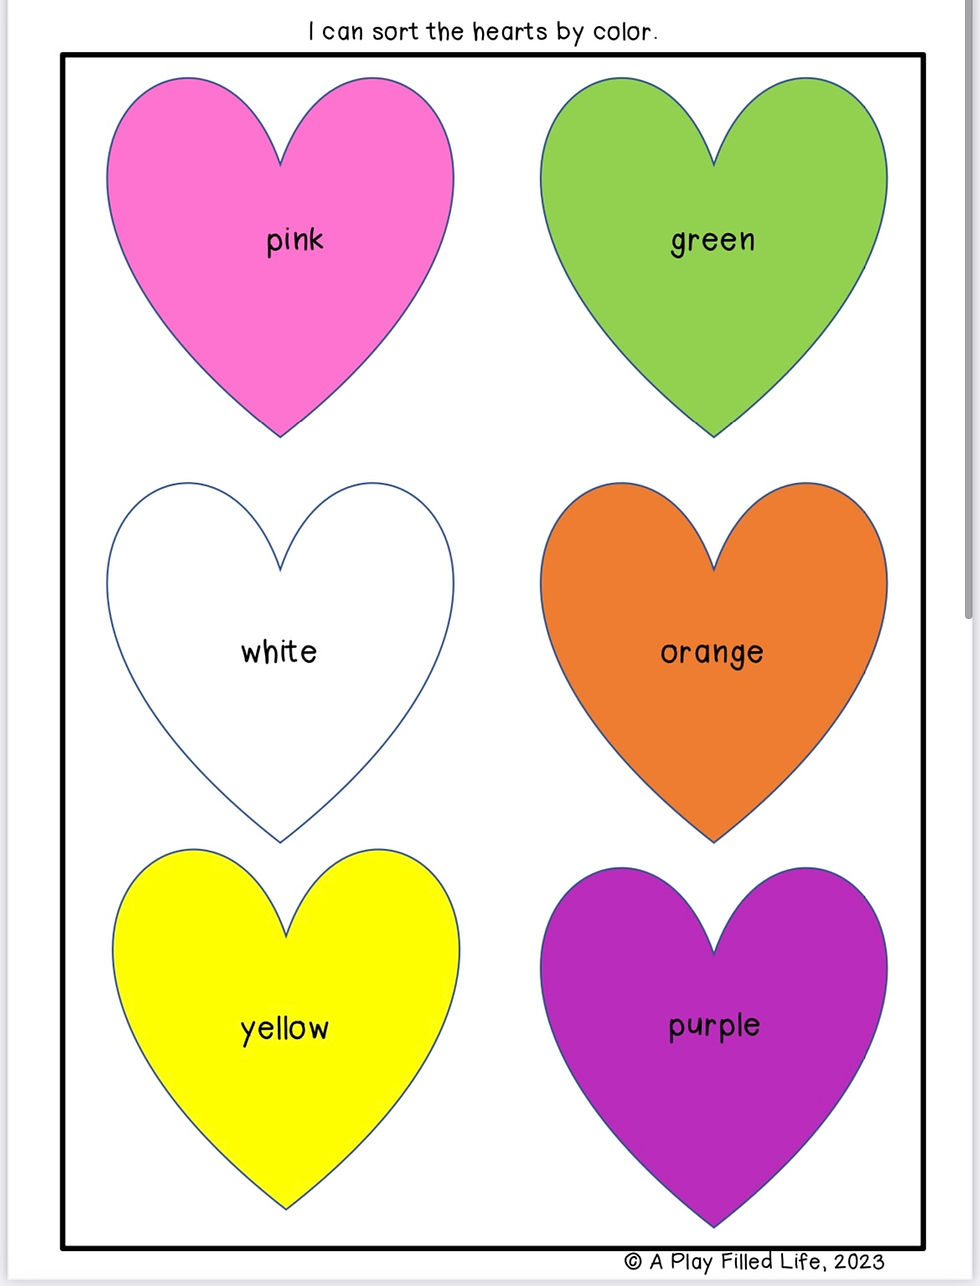
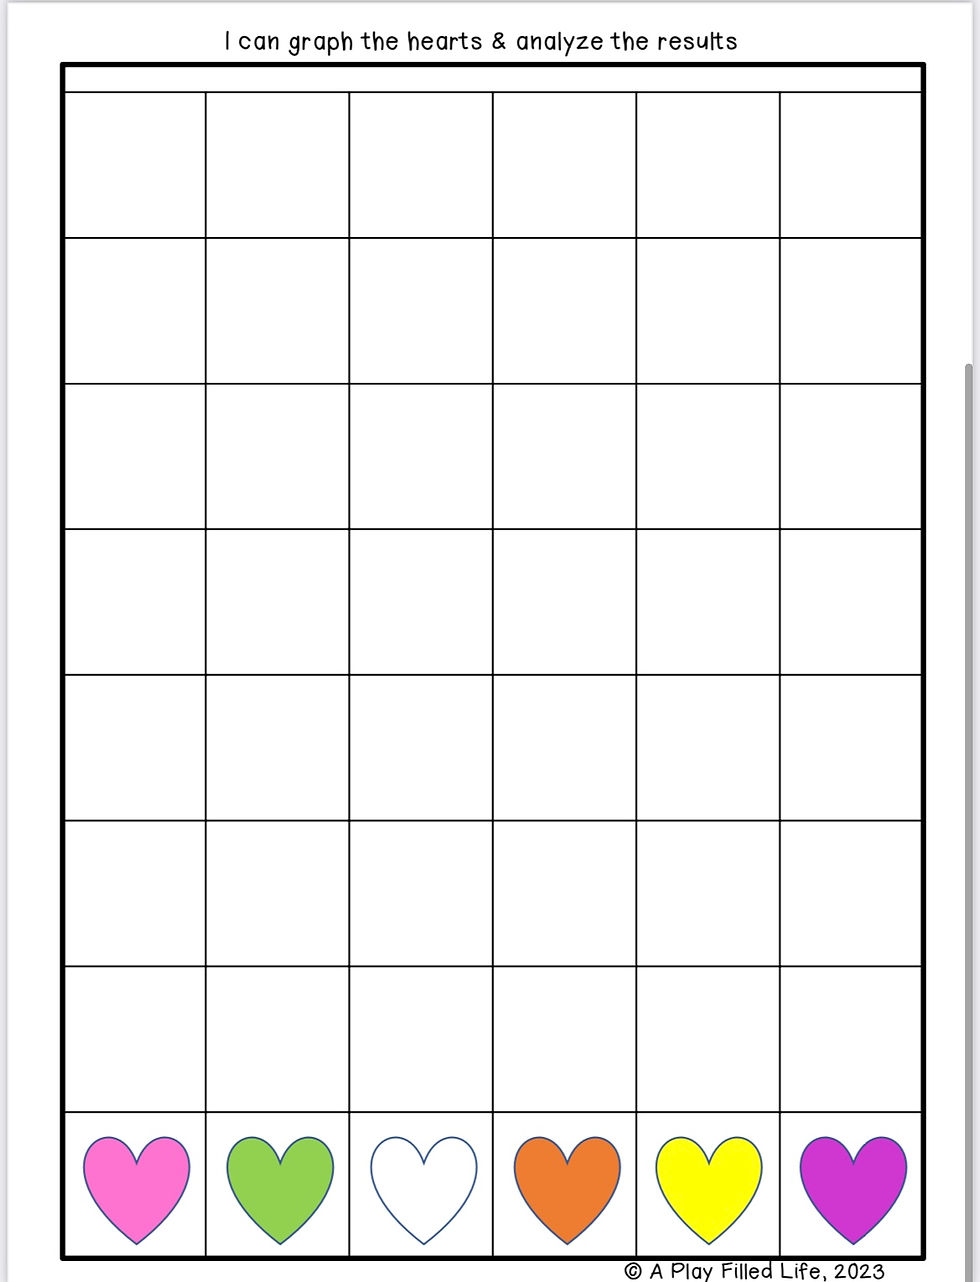
Materials:
Sort & Graph Printables- download HERE
Candy Conversation Hearts
How-To:
Print out the sorting mat & the graph.
Provide the child with a handful of candy hearts. Have them sort by color.
Then, have them transfer the hearts to the graph.
Extend your learning by prompting the child to count all of the hearts on the sorting mat. Then, once they are graphed, work on using language such as, "Which color has the most? Which has the least?" Then, compare. "How many more yellow hearts are there then pink?"
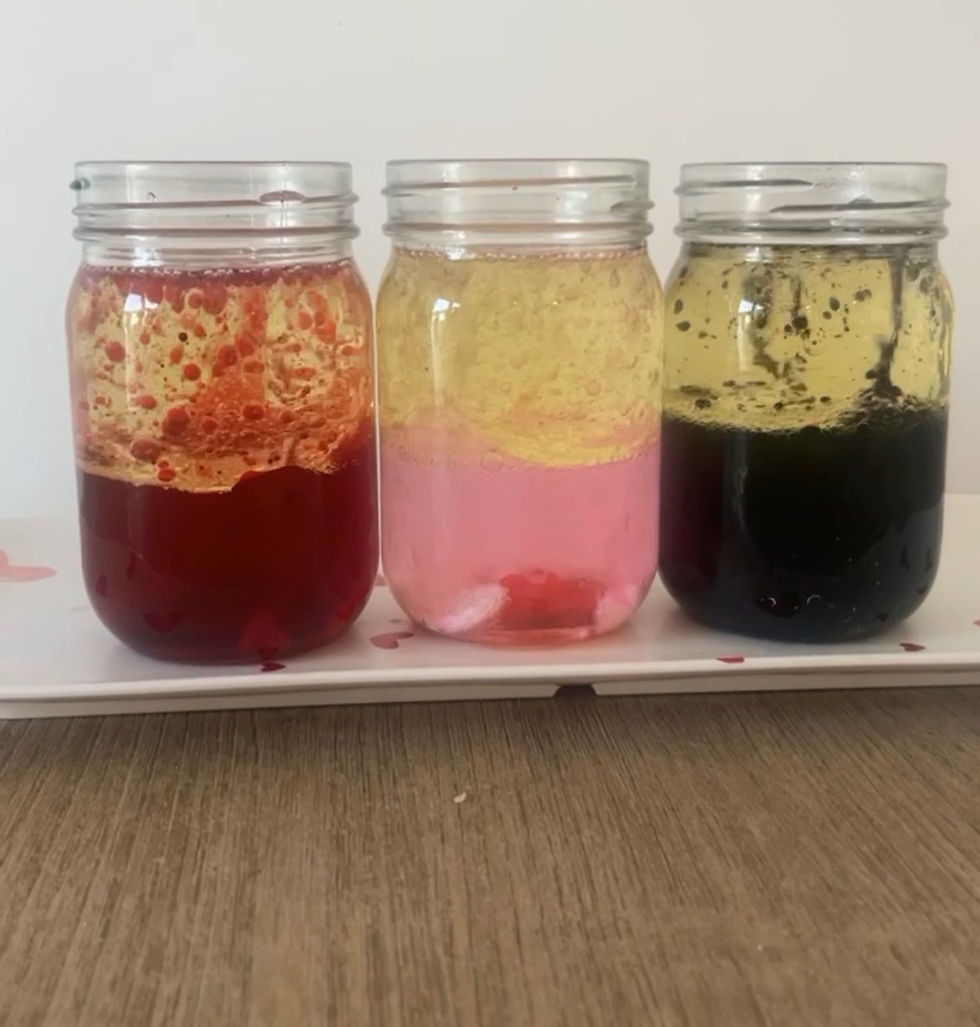
Materials:
Glass jar
Alka Seltzer tablets
Vegetable oil
Water
Food coloring
How-To:
Fill the jar 2/3 of the way with oil. Fill the rest with water.
Add a 3-5 drops of food coloring in.
Break up an Alka seltzer tablet & put it in.
*It is not recommended that you put oil down the drain or dump it outside in the dirt. The safest way to discard it is to pour it in a plastic bottle with a lid & throw it away in the trash.

Materials:
Contact paper
Tissue paper
Heart template
How-To:
Print & cut out the heart template. Fold the heart in half & cut out the center, leaving a small edge around it.
Take that heart & stick it to a piece of contact paper.
Give the child pieces of tissue paper & have them stick them on, filling the heart. If you are looking for some extra fie motor work, have them tear the tissue paper into small pieces before sticking it on!
When they are done, cut around the extra contact paper & hang up!
Extend your crafting by discussing colors & talking about vocabulary words such as "sticky" & "see through."
Valentine's Day Play Dough Tray

Click HERE for our play dough recipe. It is the BEST. It's soft & squishy & lasts up to 6 months if stored properly. To make it sparkly, add in your favorite glitter after it is cooked & knead well!
Play Dough is amazing for kids. Making the dough is an activity all in itself & works on measurement, following a recipe & also following directions. Once you make the dough you'll have opportunities to strengthen fine motor skills, practice language & vocabulary, life skills & more!
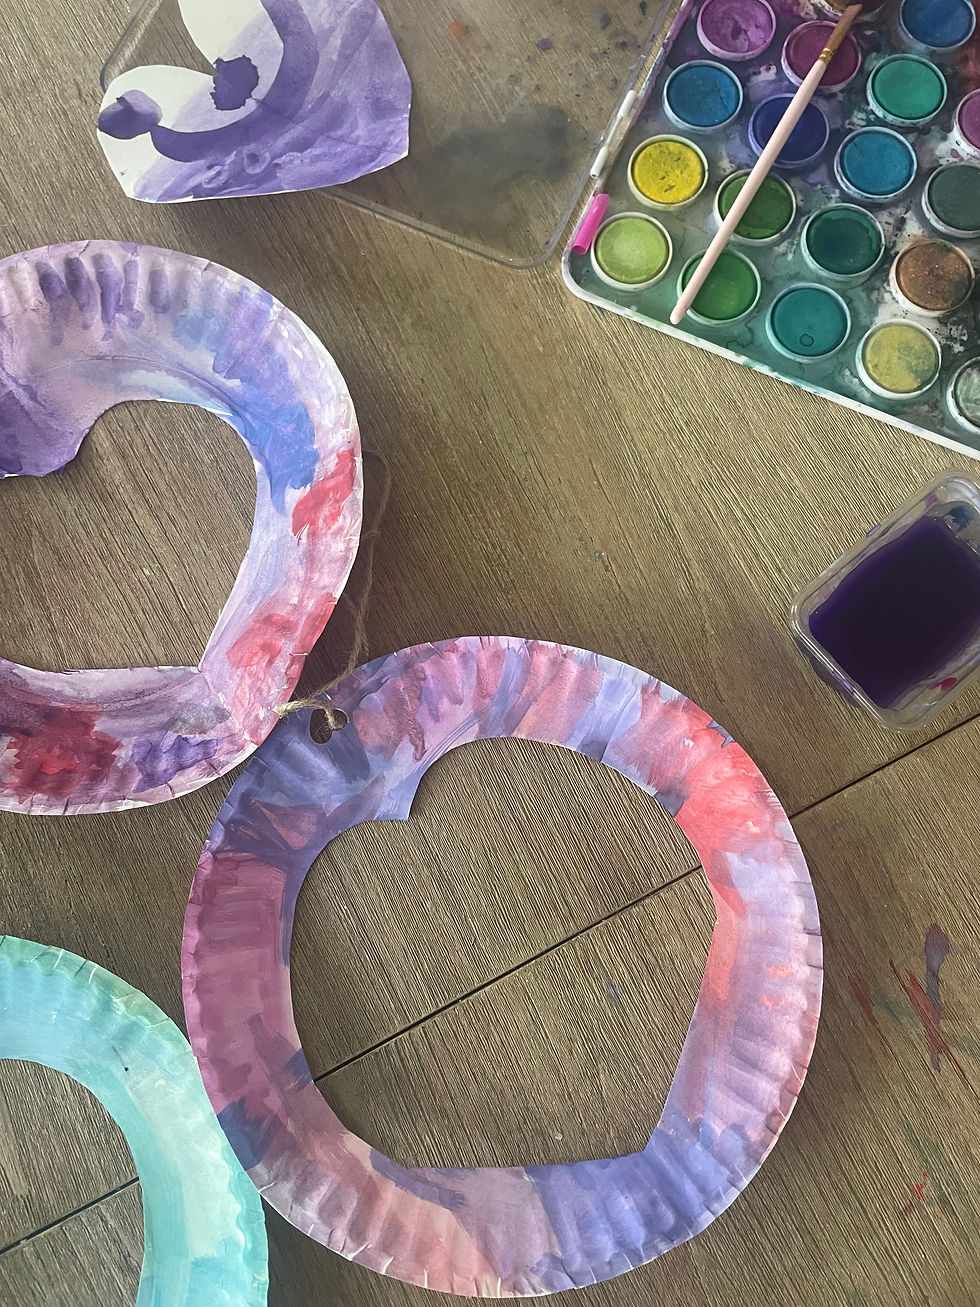
Materials:
Paper plate
Watercolor paints
Scissors
Hole punch
String
Paintbrush
How-To:
Start by folding your paper plate in half. Cut a heart shape out & open it back up.
Use your watercolor paints to decorate the heart & let dry.
Hole punch at the top & add your string, tying it in loop.
Hang up your artwork and enjoy!
Fizzy Potion Play

Materials:
Plastic cups (or bowls)
Baking soda
White vinegar
Water
Medicine dropper or pipette
Glitter (optional)
How-To:
Sprinkle a layer of baking soda in the bottom of your cup or bowl.
If you are using glitter, sprinkle it into the cup or bowl..
In a separate bowl or cup, add half water & half white vinegar.
Fill your pipette with the vinegar/water mix & squirt it into the baking soda tray. Watch as it bubbles & fizzes & colors mix together.
Extend your sensory play by exploring colors as well. Simply add food coloring to your vinegar/water mix!
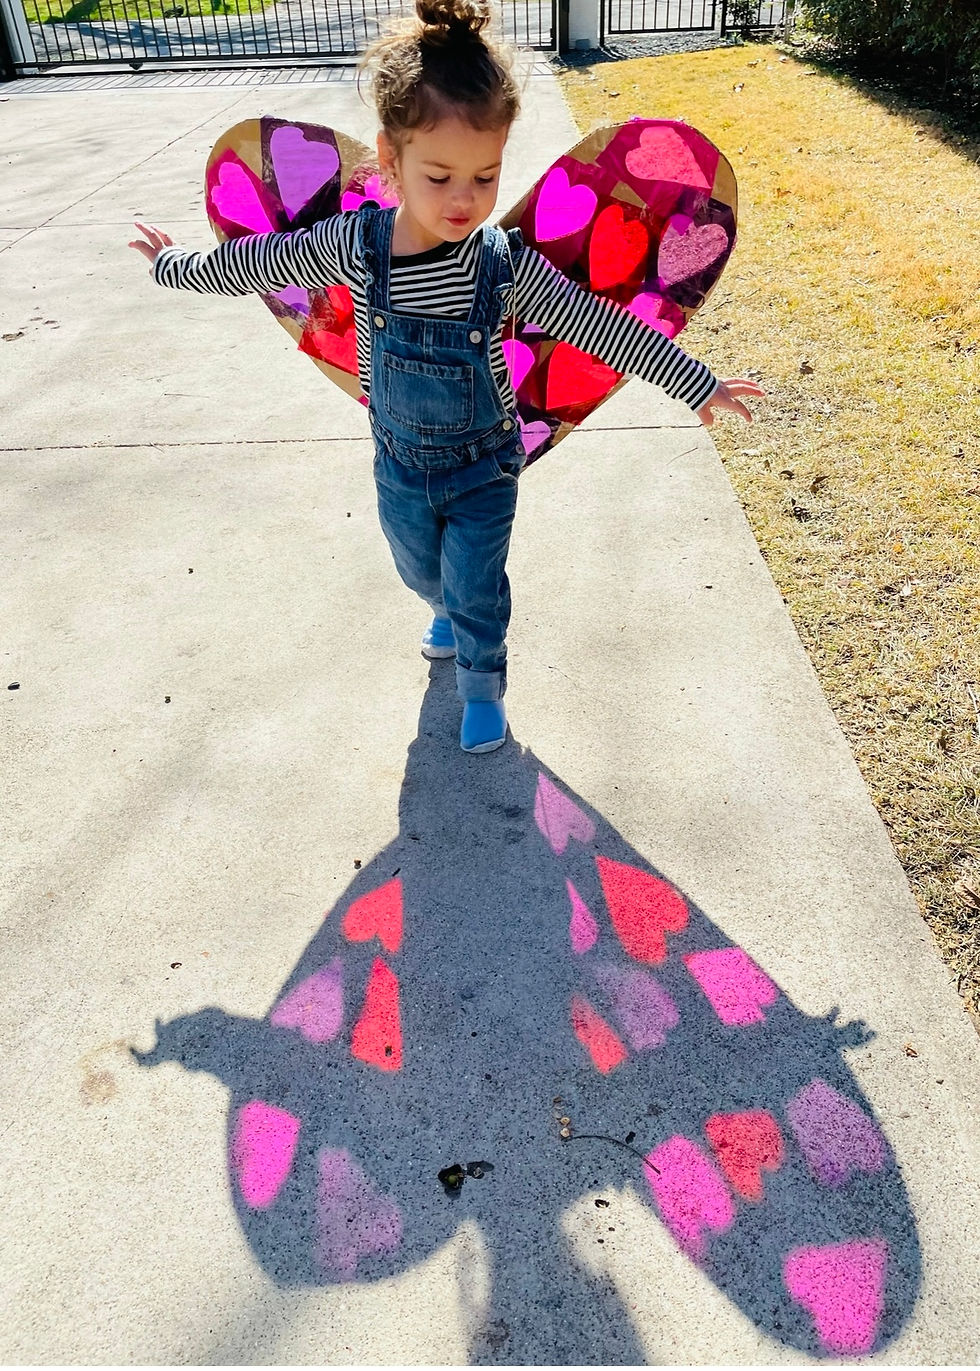
Click HERE for step-by-step directions on how to make our magical Sun Catchers!!
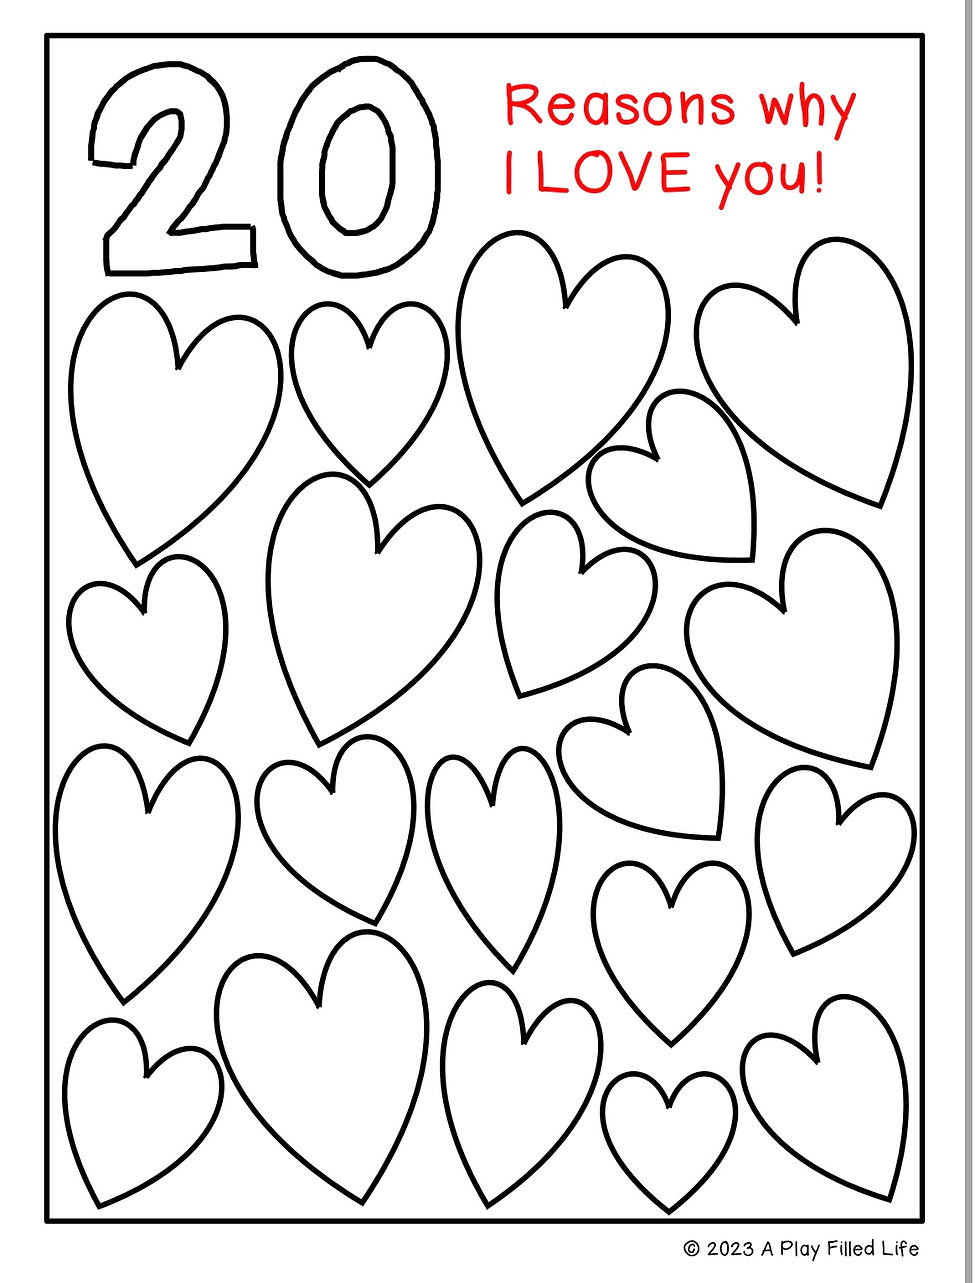
FREE 20 Reasons Why I Love You Printable
Comments